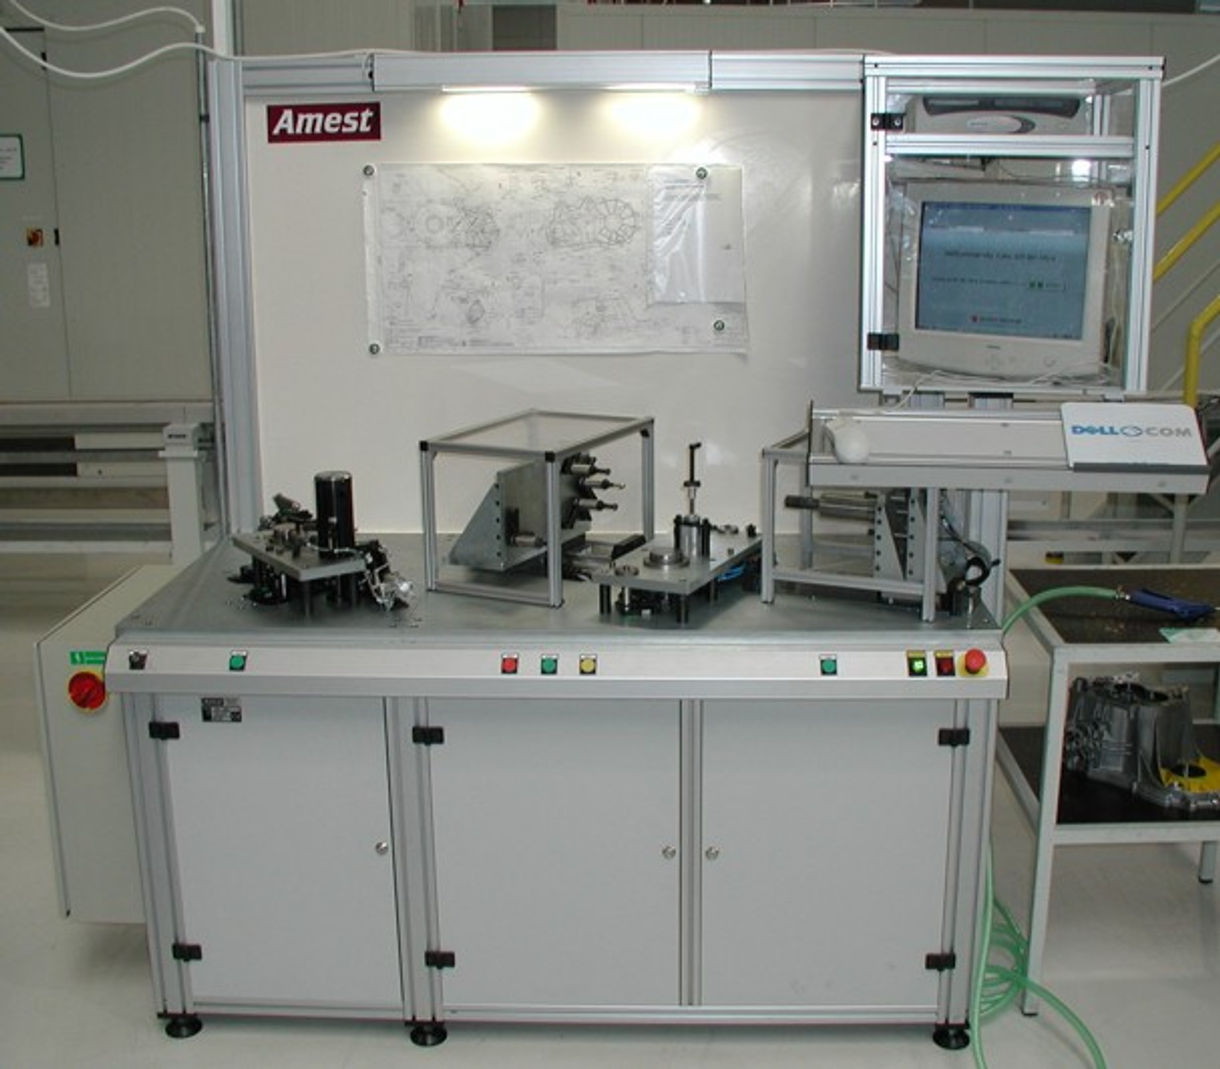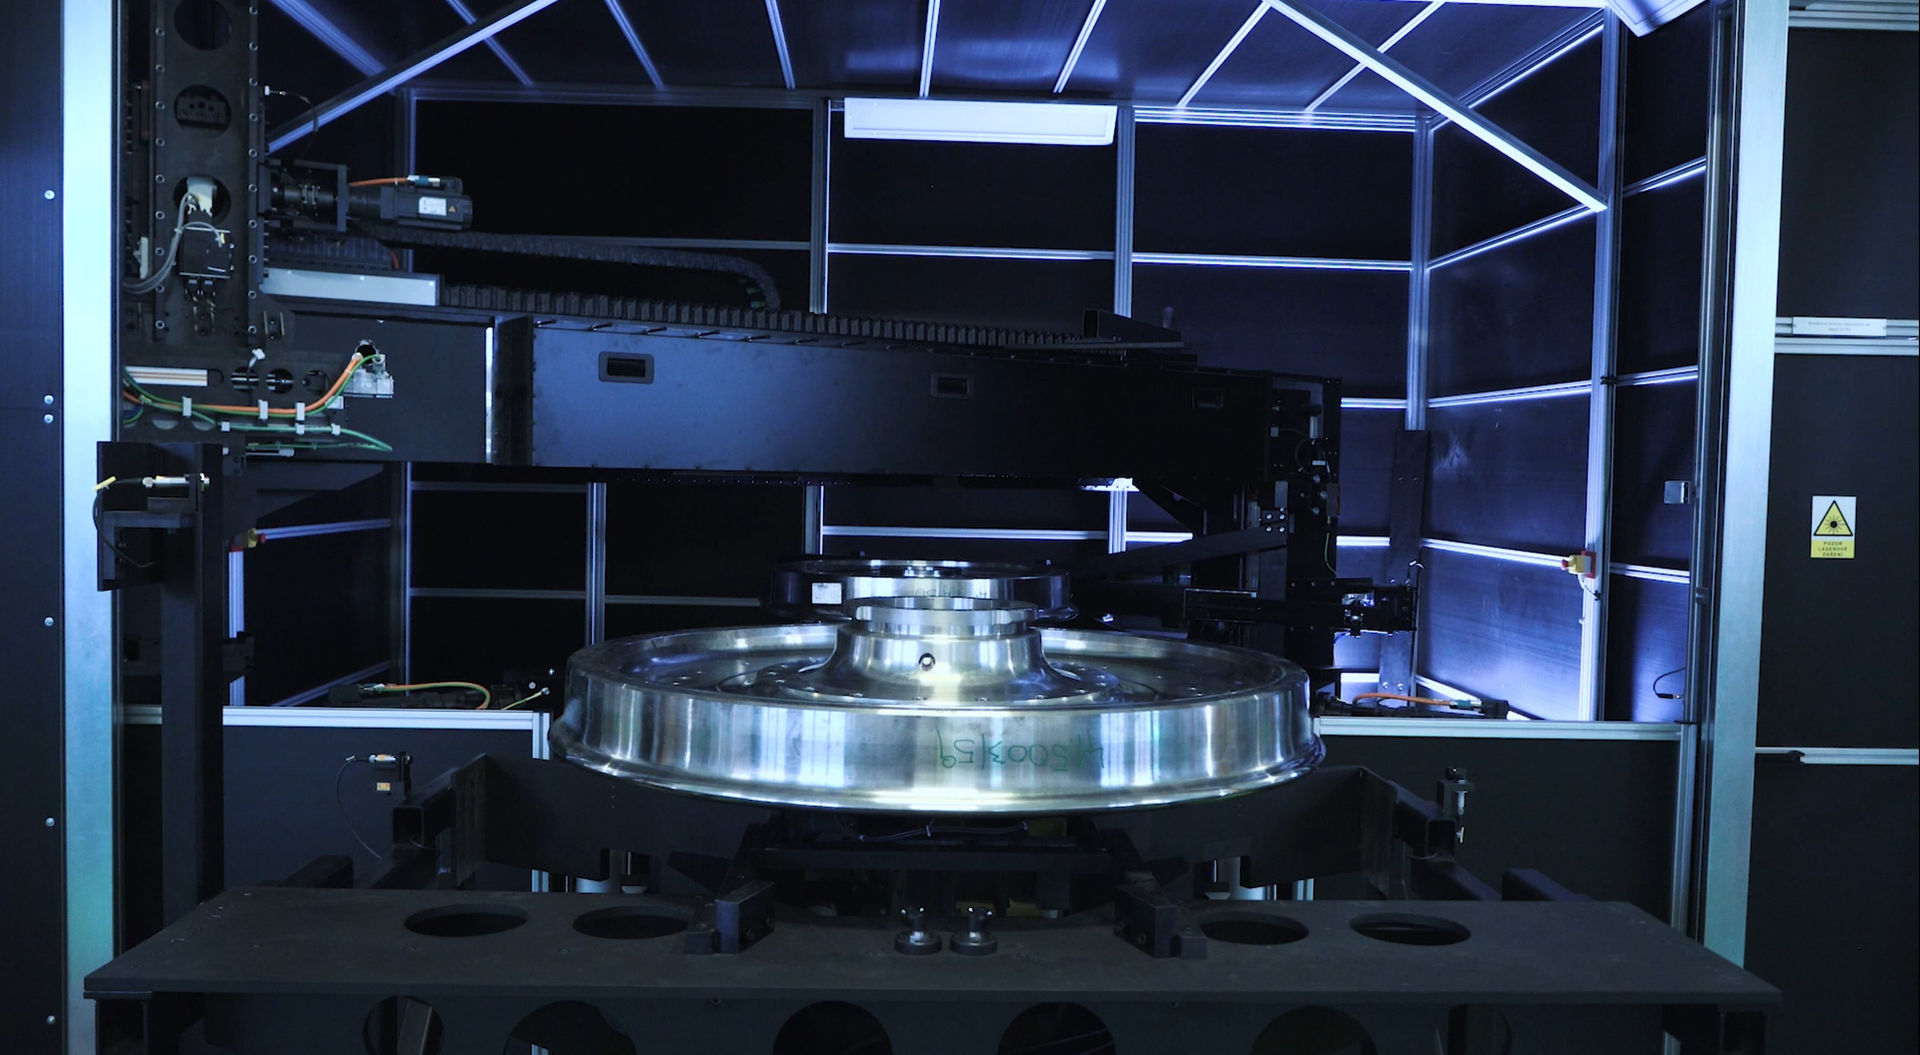


The automatic measuring station KS-517 performs the clearance dimension measurement in the piston rings gap when constricted to its relevant nominal diameter. The station consists of an input supply bin, measuring stand and an output supply bin, which are positioned on supporting aluminium beams.
In the KS-500, there are integrated operations of final production measurement of finished combustion engine pistons. The automatic machine measures the temperature cone and piston cylindricity, the apertures diameter for piston pin, perpendicularity of the apertures axis to the piston axis and the compression depth in the time of a measuring cycle within 20 seconds. It weights the pistons, labels them with weight data and sorts them into 13 output groups according to the number of categories. The sorting ensures that there are be pistons of one dimension and weight tolerance in one engine. The high accuracy and reliability of the dimensions measurement is ensured by means of the dynamic measuring principle application: The aperture diameters for the wrist pin are measured by dynamic pins, the other dimensions by a quickly adjustable portal.
The automatic machine enables a quick adjustment for another standardized size within 20 minutes by means of replacing simple components and not by elaborate adjusting to a dimension indicated on the display. The AMEST electronic system, equipped with a special measuring program, controls and evaluates all the functions of the automatic machine.
Multidimensional measuring stations designed for automobile shift forks measurement. These devices measure all types of forks that can be found in the automobile gearbox and are incorporated in the production line where they work in a full automatic mode without influence of the operating personnel.
The methodology of measuring is set in such a way that any influence of measuring inaccuracy, caused by the quality of technological foundations, is excluded. Therefore, the methodology of a floating base is used, where practically all the measured parameters are determined analytically. The measured values are displayed on the screen of the AMEST MC-2.1 measuring and controlling system, with a possibility of collecting data for SPC.
