Special measuring tasks
KS-517 – Measuring automatic machine designed for clearance measurement in the piston rings gap
The automatic measuring station KS-517 performs the clearance dimension measurement in the piston rings gap when constricted to its relevant nominal diameter. The station consists of an input supply bin, measuring stand and an output supply bin, which are positioned on supporting aluminium beams.
Technical parameters:
- Measurement accuracy...± 0,001 mm
- Working cycle time...1,2s
![]() |
KS-500 Automatic measuring machine designed for measurement, weighing, marking and pistons sorting
In the KS-500, there are integrated operations of final production measurement of finished combustion engine pistons. The automatic machine measures the temperature cone and piston cylindricity, the apertures diameter for piston pin, perpendicularity of the apertures axis to the piston axis and the compression depth in the time of a measuring cycle within 20 seconds. It weights the pistons, labels them with weight data and sorts them into 13 output groups according to the number of categories. The sorting ensures that there are be pistons of one dimension and weight tolerance in one engine. The high accuracy and reliability of the dimensions measurement is ensured by means of the dynamic measuring principle application: The aperture diameters for the wrist pin are measured by dynamic pins, the other dimensions by a quickly adjustable portal.
The automatic machine enables a quick adjustment for another standardized size within 20 minutes by means of replacing simple components and not by elaborate adjusting to a dimension indicated on the display. The AMEST electronic system, equipped with a special measuring program, controls and evaluates all the functions of the automatic machine.
Measuring accuracy:
- pivot apertures......... ±0,15µm / Cg>1
- other dimensions....... ±1µm / Cgk>1
KS-511/514 Automatic measuring station designed for dimensions measurement of shift forks
Multidimensional measuring stations designed for automobile shift forks measurement. These devices measure all types of forks that can be found in the automobile gearbox and are incorporated in the production line where they work in a full automatic mode without influence of the operating personnel.
The methodology of measuring is set in such a way that any influence of measuring inaccuracy, caused by the quality of technological foundations, is excluded. Therefore, the methodology of a floating base is used, where practically all the measured parameters are determined analytically. The measured values are displayed on the screen of the AMEST MC-2.1 measuring and controlling system, with a possibility of collecting data for SPC.
Videopresentation
Measured parameters
![]() |
![]() |
KS-536 Automatic measuring station designed for dimension and flaw detection measurement of bearing cylinders
The device is designed for surface flaw detection measurement by means of vortex currents and dimensions measurement of the external diameter of bearing cylinders. The measuring on a stand proceeds automatically.
Technical parameters: | |
---|---|
Measured cylinders range | Ø18 - Ø60 mm |
Measuring accuracy | ±0,0001 mm |
Cycle time: | |
Basic type (Ø27) | 1,8s |
Type Ø18 | 1,6s |
Others types | max. 5s |
Guaranteed size of a minimum detectable flaw: | |
Depth | 0,05 ± 0,01mm |
Length | 3,00 ± 0,1mm |
Width | < 0,05 ± 0,01mm |
The sorting of measured pieces is done within 13 categories (10 categories 1 µm each, 1 category of minus cylinders – irreparable, 1 category of plus cylinders – reparable and 1 category of scrap with flaws. The construction of the measuring device is customized in such a way that no surface damage, caused by mutual contact of cylinders and measuring device components, occurs during the measuring and handling.
Videopresentation
KS-534 Measuring station designed for measurement of SC points of the automobile rear light units
The semi-automatic measuring station KS-534 performs the SC points measurement of the left and right automobile rear light unit within the tolerance of ± 0.4 mm. The operating personnel load a component in the so-called RPS points the set-up of which is implemented in such a way that the incidental inaccuracy of these points has no influence on the static determination of these points. The control node consists of a triplex universal swap packet of measuring plates that enable measuring of several light types at one workplace. Any number of SC points is scanned by induction sensors in the direction of the normal line to the surface measured.
Immediately after the completion of the measuring, the results are displayed on the screen of the Amest MC-21 measuring electronics and identical components are marked by a hot stamping tool (solder).
![]() |
KS-558 Postprocess widerange measuring instrument for measuring of shafts
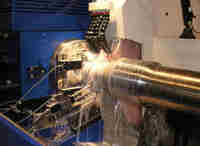
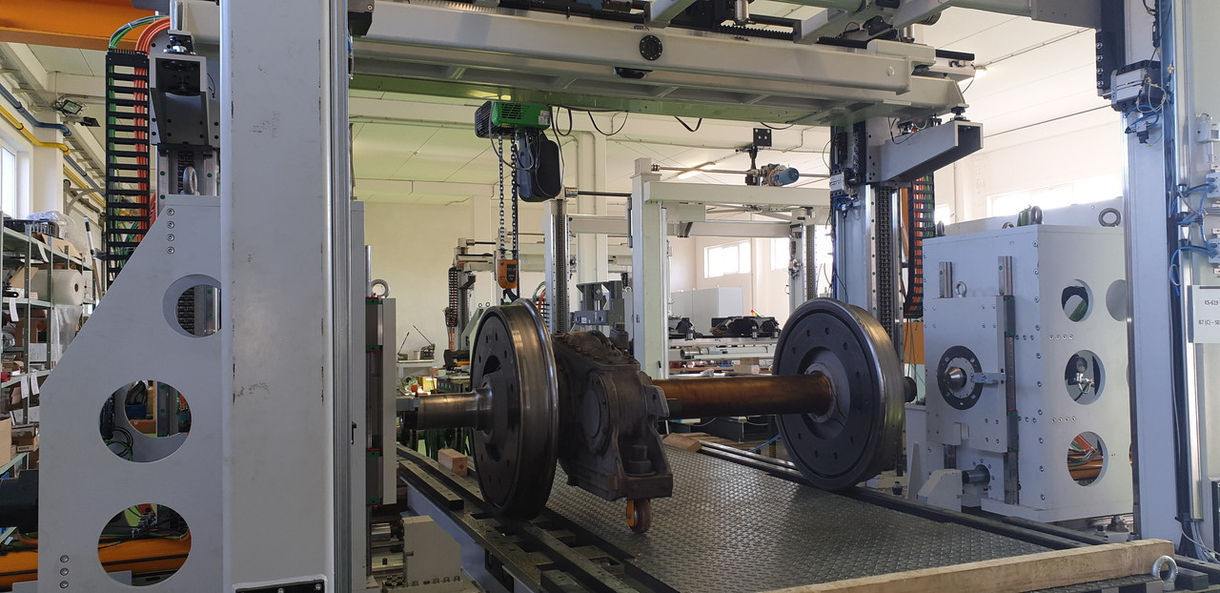
The widerange measuring instrument is determined for continuous postprocess checking of outer smooth shaft diameters and cylinders (e.g. railway’s axcles) from diameter 100 mm to 250 mm that are grinded on grinding machines.
The measuring instrument is located on the grinder spindle of the machine. The main functional part of the instrument is the swing down measuring arm, whereon movable parallelograms with scanning contacts are located. The respective arm is swung down to the operating position by means of a pneumatic drive that is fixed together with the arm to the base of the measuring instrument. The proper software accessories of the measuring instrument are installed in the control system of the grinding machine.
The measuring instrument has three normal positions:
- Measuring (the arm is swung down ) – measuring of the workpiece takes place in this position
- Parking (the arm is in the middle position) - grinding of the workpiece , axial crossover of the workpiece
- Put out of operation (the arm is in the upper position) - the workpiece is changed , the cover of the machine is open
Checked parameters
- Diameters of cylindrical surfaces (the measured value is given by sum of the values of the widerange incrumental ruler and of the narrow range inductive unit)
- Roudness of cylindrical surfaces
- Conicalness of cylindrical surfaces
Downloads
-
KS-500 size: 793.07 kB
Interested Special measuring tasks? Write to us!
Secondary content
News
Innotrans 2016
Contacts
Amest s.r.o.
Ke Kablu 378
CZ 102 00 PRAHA
Tel.: +420 272 704 121
Fax: +420 272 705 754
E-mail:
© 2018 Amest s.r.o.
Created by eBRÁNA s.r.o. | Powered by CMS WebArchitect | SEO a internetový marketing